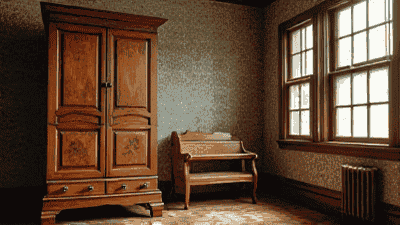
Furniture restoration can be a rewarding and cost-effective way to breathe new life into old or worn pieces, transforming them into stunning focal points within your home. Whether you’ve inherited a family heirloom that needs some love or stumbled upon a vintage find at a thrift store, understanding the methods and techniques of DIY furniture restoration can open a world of creativity while saving you money. In this comprehensive guide, we will explore various techniques, materials, and step-by-step instructions to help you revamp old furniture on a budget.
Furniture restoration is not merely about making an item look new again; it encompasses a variety of techniques aimed at preserving the original character and charm of the piece. It involves repairing, refinishing, and sometimes repurposing furniture to extend its life and enhance its usability and aesthetic appeal.
There are several benefits to taking on a DIY furniture restoration project:
Cost Savings: Restoring furniture yourself can save significant costs compared to purchasing new or hiring professionals.
Personal Touch: DIY projects allow you to incorporate your style and creativity into the furniture, giving it a unique flair that reflects your personality.
Sustainability: By restoring older items, you contribute to reducing waste and supporting environmentally friendly practices.
Sentimental Value: Restoring family pieces can preserve memories and stories, keeping them alive for future generations.
Having the right tools and materials on hand is crucial to successful furniture restoration. Here are some essential items you might need:
It’s essential to prioritize safety while working on DIY furniture restoration:
Now that you have the tools and materials ready, let's explore how to restore various types of furniture. The restoration process can vary based on the project, but here is a general step-by-step guide you can follow:
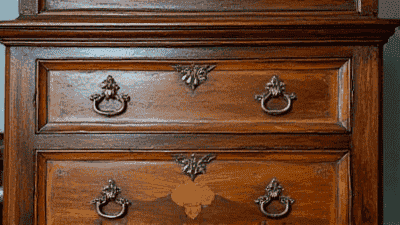
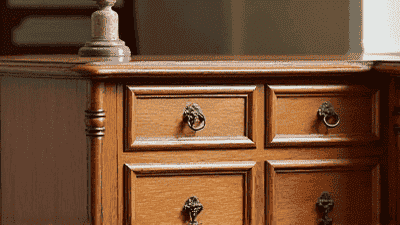
Before starting on your project, carefully inspect the furniture. Look for signs of damage, such as scratches, dents, loose joints, or old finishes. Determine if any parts need replacement or if the furniture can be cleaned and refinished.
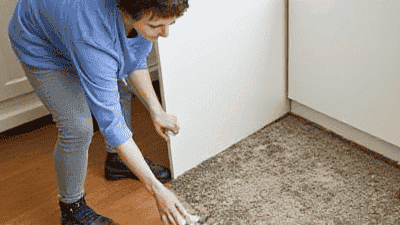
Cleaning is essential to remove dirt, grime, and old finishes. Here’s how to do it properly:
Address any scratches, dents, or other issues before proceeding with refinishing.
Sanding prepares the surface for staining or painting and helps remove old finishes. Follow these steps:
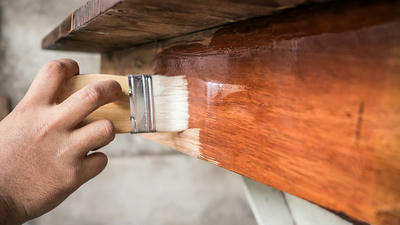
Now it’s time to apply a new finish to your furniture.
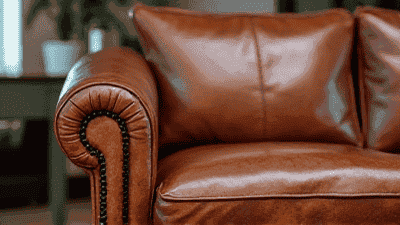
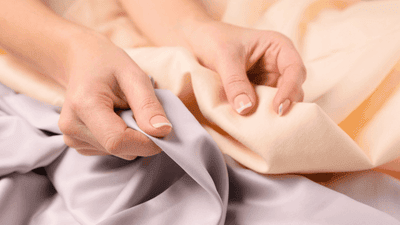
If you are working on upholstered furniture, you may wish to reupholster it to refresh its appearance. Here’s how:
Once the restoration is complete, add any finishing touches to elevate the look of your refurbished piece:
One of the advantages of DIY furniture restoration is that it can be done on a budget. Here are some tips for keeping costs down while achieving great results:
If you're new to furniture restoration, begin with smaller projects to build your skills and confidence. Items like bedside tables, small chairs, or shelves can be great starting points and don't require a significant investment.
While it may be tempting to buy a full set of tools at once, consider purchasing only what you need for each project. Investing in quality tools over time can lead to better results and increased durability.
Utilize free resources online, including videos, blogs, and DIY websites. Learning from others can provide valuable tips and techniques that can simplify the restoration process and reduce mistakes.
When embarking on a DIY furniture restoration project, it’s important to learn from the experiences of others. Here are common mistakes to avoid:
Rushing through the cleaning and preparation phases can lead to poor outcomes. Take your time to ensure all surfaces are ready for the work ahead.
While sanding is essential, overdoing it can lead to uneven surfaces and damage to the wood. Sand only as needed and carefully assess the surface before proceeding.
Failing to wear safety gear such as goggles and masks can put you at risk while working with dust, chemicals, or tools. Always prioritize safety.
When using paints, stains, or fillers, always read and follow the manufacturer's instructions for best results. Ignoring guidelines can lead to disappointment and additional repairs.

Once your furniture restoration project is complete, it’s important to take care of your newly revamped pieces to ensure they last for years. Here are some maintenance tips:
Dust your furniture regularly with a soft cloth to avoid buildup. For surfaces that require it, use mild soap and water or a furniture polish suitable for the finish.
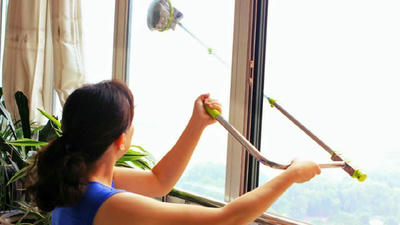
Position your furniture away from direct sunlight to prevent fading and damage to the finish over time. Use curtains or blinds to minimize exposure.
Keeping indoor humidity levels stable is important for wood furniture. If you live in a particularly dry or humid environment, consider using a humidifier or dehumidifier to maintain optimal conditions.
Always use coasters under drinks, protectors under vases or decor, and avoid placing hot items directly on finished surfaces to prevent damage.
Regularly inspect your furniture for signs of wear or damage and repair any issues promptly to prevent them from worsening.
DIY furniture restoration is a fulfilling and budget-friendly way to give new life to old pieces, turning them into charming and functional elements in your home. By understanding the various techniques, gathering the right tools and materials, and following a structured approach, you can enjoy the process of transforming worn furniture into beautiful, personalized works of art. Embrace the rewarding journey of restoration, and celebrate the uniqueness of each piece you work on. With patience, creativity, and care, your refurbished furniture can become a treasured part of your home, telling a story of both its past and your own craftsmanship. Whether you’re breathing new life into an heirloom or giving a thrift store find a second chance, the skills and techniques you develop will serve you well for years to come.