Metal surfaces adorn various areas of our homes, from kitchen appliances and fixtures to decorative pieces and furniture. However, over time, these surfaces can lose their luster due to tarnishing, oxidation, and everyday wear and tear. Fortunately, with the right techniques and products, you can restore and maintain the shine of metal surfaces in your home. In this comprehensive guide, we will explore the different types of metals, the best polishing techniques, and practical tips to keep those surfaces looking their best.
Before diving into polishing techniques, it's essential to understand the various types of metals you may encounter in your home. Each metal has unique properties, and the methods used for polishing may vary accordingly.
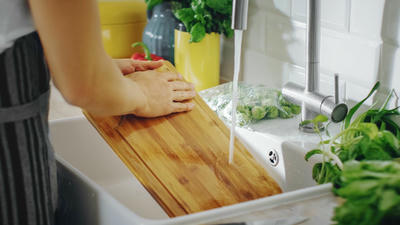
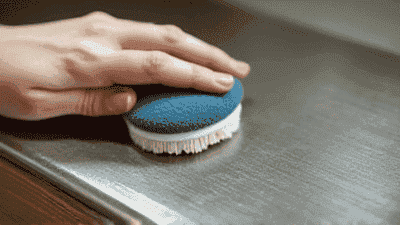
Stainless steel is a popular choice for kitchen appliances, sinks, and countertops due to its durability and resistance to rust and corrosion. However, it can show fingerprints, water spots, and scratches.
Aluminum is lightweight and resistant to corrosion, making it common in appliances, cookware, and outdoor furniture. It can tarnish over time but is relatively easy to polish.
Copper is known for its warm, reddish-brown hue and is often used in cookware, fixtures, and decorative items. Copper can tarnish quickly, forming a green patina if not maintained.
Brass is an alloy of copper and zinc and has a bright, gold-like appearance. It is often used for fixtures, knobs, and decorative accents. Like copper, brass can tarnish and require regular polishing.
Chrome plating is a coating applied to various metals to enhance appearance and protect against corrosion. It is commonly found on furniture, fixtures, and automotive parts. Polishing chrome requires specific techniques to avoid scratching.
Bronze, an alloy of copper and tin, has a beautiful rich color and is often used for sculptures and decorative items. It can develop a patina over time, showcasing its character but may require polishing for a brighter finish.
Polishing metal surfaces is essential for several reasons:
Maintaining Appearance: Regular polishing helps restore the shine and luster of metals, making them look new and attractive.
Preventing Corrosion: Polishing can create a protective barrier against moisture, dust, and dirt, helping to prevent corrosion and oxidation.
Removing Stains and Scratches: Polishing can help eliminate stains, fingerprints, and minor scratches, ensuring surfaces remain in excellent condition.
Prolonging Life: Regular maintenance through polishing can extend the lifespan of metal items by preventing damage and deterioration.
Before you start polishing your metal surfaces, gather the following tools and supplies:
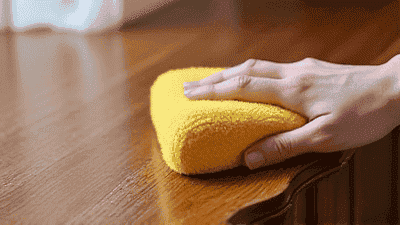
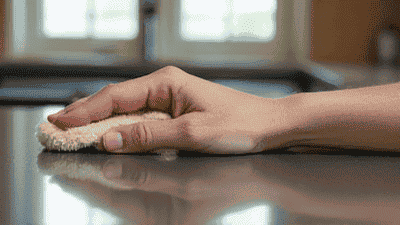
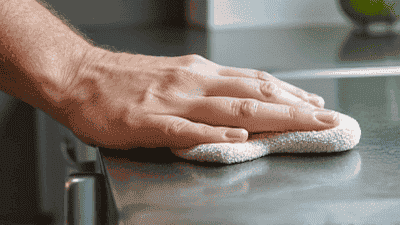
Microfiber Cloths: Soft, lint-free cloths are essential for applying polish and buffing surfaces without scratching.
Metal Polish: Choose a polish formulated for the specific type of metal you are working with. Look for products that are non-toxic and easy to use.
Cleaning Solutions: Depending on the metal, you may need a degreaser, vinegar, or specialized cleaner to prepare the surface before polishing.
Soft Brushes: Use soft-bristled brushes to reach intricate details and crevices on decorative metal items.
Buffing Wheels (Optional): For larger metal surfaces, consider using a buffing wheel attached to a drill to speed up the polishing process.
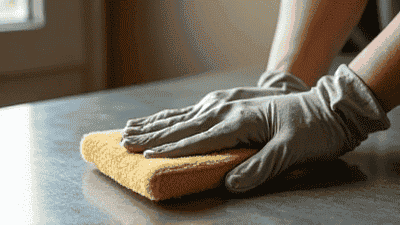
Rubber Gloves: Wearing gloves can protect your hands from harsh chemicals and provide a better grip.
Here are the step-by-step processes for polishing various metal surfaces:
Collect a stainless steel cleaner/polish, microfiber cloths, and a soft brush if needed.
In addition to commercially available polishes, you can make your own effective metal polish using common household ingredients:
After polishing, taking steps to protect metal surfaces is vital for maintaining their shine and preventing tarnish:
Consider applying a thin layer of wax or polish designed for metals that can help shield surfaces against oxidation and tarnishing.
Establish a routine maintenance schedule to clean and polish as necessary. For high-use areas, more frequent attention may be required.
When not in use, store metal items in a dry, cool place to minimize exposure to moisture and humidity. Wrapping them in soft cloth can provide further protection.
As you embark on polishing metal surfaces, be cognizant of these common mistakes:
Avoid using steel wool or other abrasive materials that can scratch and damage metal finishes.
Always test polishes and cleaners on a small, inconspicuous area before applying them to the entire surface.
When using chemical cleaners, ensure proper ventilation and consider wearing gloves to protect your skin.
Neglecting to clean metal surfaces between polishing sessions can lead to heavier tarnish buildup, making subsequent polishing more difficult.
Polishing and maintaining metal surfaces can be a rewarding task that enhances the beauty of your home while prolonging the life of your possessions. By understanding the properties of various metals and adopting effective polishing techniques, you can achieve stunning results.
From stainless steel to brass, each metal requires specific care, and knowing the right products and methods can make all the difference. Whether you choose to use store-bought polishes or create your DIY solutions, the key is consistency and attention to detail.
Incorporate these techniques into your home maintenance routine, and you will enjoy the beauty and brilliance of shiny metal surfaces for years to come.